A cedar roof is a great way to create a rustic look for your home. However, when it comes to installing cedar roof shingles, it’s no easy task. If you do not install your cedar shake roof the right way, it can seriously affect its longevity. While it’s best to hire a professional, a DIY cedar shake roof installation isn’t impossible.
Before you start installing cedar shakes, it’s important to educate yourself on the process. Doing so will help you avoid damaging and costly mistakes that could ruin your roof. Here are the top eight mistakes you want to avoid, along with solutions to prevent them:
1. Not Allowing Wood to Acclimate
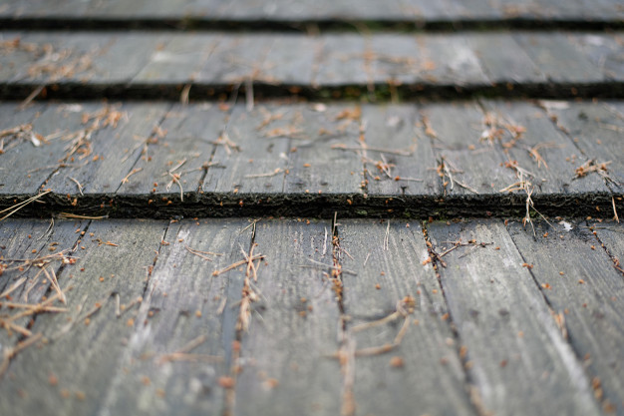
It’s natural to want to start installing cedar roof shingles the moment they arrive, but doing so can cause long-term damage. Since wood is a natural material, it expands and contracts with changes in humidity. If the shakes don’t have time to acclimate to your local environment, they could misalign, buckle, or even crack.
The solution is to wait before installing your cedar shake roof. Place the material off the ground and cover it to protect it while allowing it to acclimate. The time required will depend on your region, so ask your manufacturer for specific recommendations.
Note: This step is not necessary for synthetic cedar shakes, like those offered by CEDUR, which don’t require acclimation and can be installed right away, saving time and avoiding potential issues with expansion and contraction.
2. The Wrong Nails and the Wrong Tools
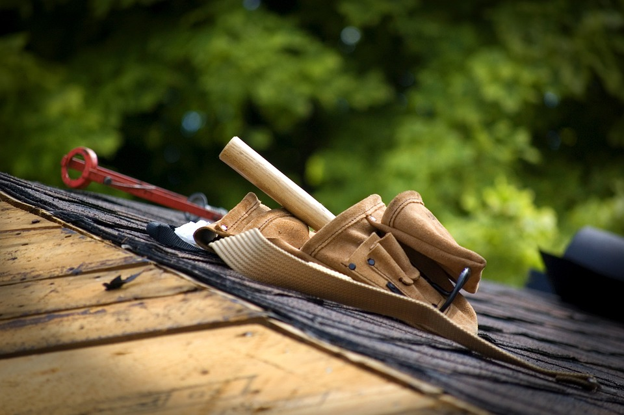
Using the wrong nails or tools when installing cedar roof shingles can severely damage your roof. A nail gun can penetrate too deeply, shortening the lifespan of the roof. Additionally, choosing the wrong type of nail can lead to shingles becoming loose over time.
To avoid this, use aluminum, stainless steel, or galvanized steel nails with ring shanks. If you live near the ocean, select specific alloys based on your proximity to saltwater. Also, avoid using a nail gun. Instead, hand-nail each shake, placing two nails per shingle about four inches from the top and one inch from the sides.
Tip: With CEDUR synthetic shakes, installation is easier and doesn’t require specialized nails or tools. You can use standard roofing nails, and the risk of damaging the shingles during installation is minimal.
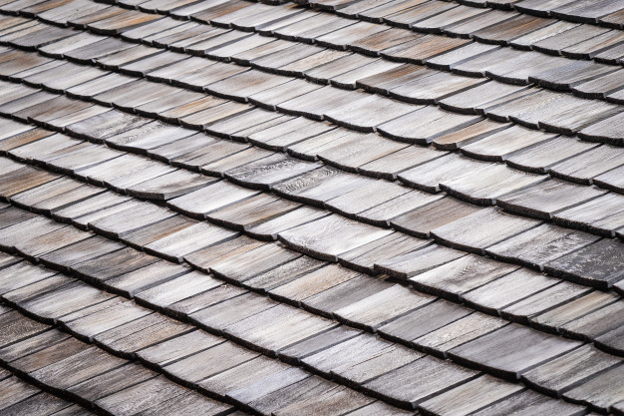
3. Not Aligning Your Shingles Properly
Improper alignment of cedar shakes is another common mistake in DIY projects. If shingles are placed too close together, they can overlap and warp, while spacing them too far apart can allow water infiltration, leading to damage.
Start by leaving about an inch and a half of overhang at the roof’s edge to guide runoff. As you move up, place the thickest part of each shingle at the top of the next row, keeping the shingles about a quarter-inch apart.
Reminder: CEDUR’s synthetic shakes are designed for consistent sizing, making proper alignment much easier to achieve compared to natural cedar.
4. Not Allowing for Ventilation
Wood is a natural material that absorbs moisture, and without proper ventilation, cedar shakes won’t dry out properly. This can lead to issues like rot and temperature-related damage.
To ensure proper ventilation, install an underlayment on top of the roof sheathing, then attach wood spacers in line with your attic rafters. Apply a layer of skip sheathing before installing your shingles.
With CEDUR shakes, ventilation concerns are reduced because synthetic materials don’t absorb water like real cedar. CEDUR shakes also come with a cool roof rating, ensuring energy efficiency without requiring complex ventilation systems.
5. Failing to Use a Starter Section
A common mistake for DIY cedar shake roof installations is skipping the starter section. This section, installed near the eaves, creates an essential water barrier and allows you to perfect your technique before working on the rest of the roof.
Building the starter section first ensures a solid foundation for the roof and makes it easier to spot mistakes early in the installation process.
6. Not Preparing for Ice Dams
In colder climates, ice dams can cause major damage to cedar roofs. If not planned for, melting ice can seep under the shingles and cause leaks.
To prevent this, use a quality roof underlayment designed to block ice and water from getting beneath the shingles. This will provide a barrier against ice dams.
CEDUR synthetic shakes are more resistant to water damage from ice dams, making them an excellent choice for cold-weather regions.
7. Using Sealants
Sealants should never be used on real cedar shakes. Unlike materials like asphalt or concrete, cedar doesn’t bond well with sealants, and using them could cause more harm than good.
CEDUR shakes do not require sealants at all, eliminating this concern entirely. Their synthetic material provides natural resistance to moisture, UV rays, and other deteriorating elements without the need for additional treatments.
8. Using Damaged Shingles
Using damaged shingles during installation is a big mistake, especially with real cedar. Damaged shakes can allow water to penetrate the roof, causing rot, mold, and leaks over time.
When installing CEDUR synthetic shakes, you won’t have to worry about fragile or damaged shingles. CEDUR’s shakes are durable, lightweight, and resistant to cracking or breaking during installation.
A Better Roofing Solution
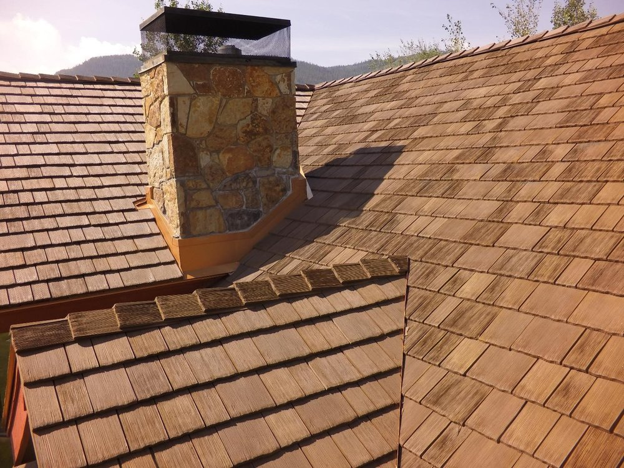
While a DIY cedar shake roof installation is possible, it’s easy to make mistakes that can shorten your roof’s lifespan. For homeowners seeking a low-maintenance, durable alternative, CEDUR synthetic shakes are the perfect solution. These shakes replicate the look of real cedar but offer numerous benefits:
- No need for acclimation
- Easy installation with standard tools
- No need for sealants or specialized ventilation
- Resistant to fire, impact, and moisture
CEDUR’s synthetic shakes are also cool roof rated, meaning they provide energy efficiency without requiring extra preparation for ventilation systems.
A Job to Take Seriously
Installing cedar roof shingles is a serious task, and even small mistakes can lead to long-term damage. Avoiding the mistakes listed above is crucial if you want your roof to last. However, the best way to avoid these issues altogether is to opt for CEDUR’s synthetic cedar shakes.
You’ll get the rustic beauty of cedar without the hassle, and you’ll have peace of mind knowing your roof is protected from moisture, fire, and impact damage.
Ready for a Better Roof?
If you want a beautiful, worry-free cedar shake roof, CEDUR synthetic shakes are the best option. Contact us today to learn more about our products and how they can transform your home with the look of real cedar and the durability of a modern, maintenance-free material.